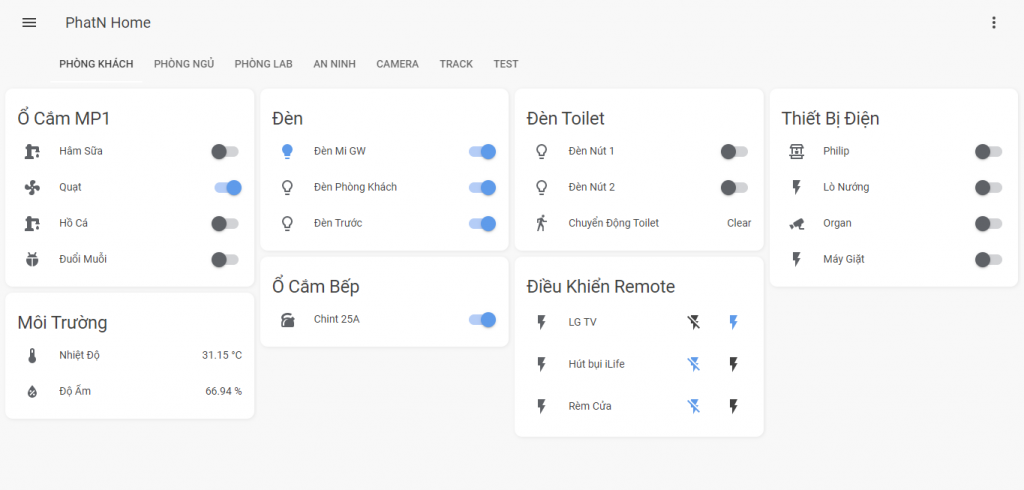
Tổng hợp bài viết Hướng dẫn cơ bản xây dựng nhà thông minh với Home Assistant - Hass:
Giới thiệu nhà thông minh Home Assistant
Yêu cầu phần cứng :
- Máy chủ mini Raspberry Pi, intel NUC ... Mua máy cài đặt sẵn và hỗ trợ Hass ủng hộ mình tại đây nhé.
- Wifi Router - có hỗ trợ multicast wifi. Tham khảo : router tplink
Cài đặt Hass:
+ Cài đặt Raspbian GUI + Docker + Hassio
Các công cụ cần thiết:
+ Editor : Notepad ++
+ SSH tool : link
+ Add-on cơ bản cho Hassio.
Điều khiển công tắc, ổ cắm:
Đưa thiết bị Sonoff vào Hass, Không cần Flash
Đưa thiết bị Tasmota firmware vào Hass
Điều khiển Remote TV, máy lạnh:
Điều khiển Remote sử dụng Tasmota MQTT.
Cấu hình truy cập, giao điện:
Cấu hình giao diện lovelace, thay đổi tên thân thiện - customize trên GUI. Cài đặt theme cho Home Assistant.
Cấu hình truy cập Hass từ bên ngoài : Port Forwarding, DuckDNS + Let's Encrypt, Nginx Proxy.
Điều khiển thiết bị Zigbee, RF433:
+ Đưa thiết bi Zigbee sử dụng USB Zigbee CC2531 / CC2652P, LAN Zigbee Hub.
+ Đưa thiết bị Zigbee sử dụng hub Sonoff Zigbee Bridge, MQTT, ZHA
+ Đưa thiết bị RF433 sử dụng Sonoff RF Bridge, Tasmota MQTT.
Điều khiển bằng giọng nói:
Kết nối Hass với Google Assistant điều khiển giọng nói
Tích hợp thiết bị an ninh vào Hass:
+ Tích hợp loa báo động, nhạc chuông zigbee.
+ Nhắn tin và gọi điện bằng Module SIM800 kết nối EspHome, kết nối MQTT.
+ Cảm biến hiện diện HLK-LD2410 và module Wi-Fi kết nối MQTT và Home Assistant
+ Quản lý truy cập ra vào ngôi nhà với Module vân tay wifi R503
Tích hợp thiết bị cảm biến môi trường:
More things:
+ Sử dụng Home Assistant Mobile App
+ Tạo nhiều bảng điều khiển Lovelace
+ Đưa vị trí điện thoại lên Hass, sử dụng OwnTracks
+ Tích hợp RFID NFC tag vào Home Assistant
+ Điều khiển Cửa Cuốn, Rèm Cửa bằng công tắc Sonoff Tx 3 nút

Bài Viết Mới
Sử dụng phần mềm putty để terminal ssh vô Linux
Putty là phần mềm miễn phí, được cài trên các hệ điều hành windows để truy cập vào các máy…
Quản lý truy cập ra vào ngôi nhà với Module vân tay wifi R503
Bạn đã bao giờ muốn kết hợp công nghệ vân tay với hệ thống nhà thông minh của mình? Module…
Cảm biến hiện diện HLK-LD2410 và module Wi-Fi kết nối MQTT và Home Assistant
Cảm biến hiện diện con người HLK-LD2410 được thiết kế đặc biệt để phát hiện sự hiện diện của con…
Giới thiệu Tasmota và cơ chế hoạt động
Tasmota là một phần mềm mã nguồn mở được sử dụng để thay thế firmware gốc trên các thiết bị…
Điều khiển thiết bị Remote IR sử dụng Tasmota MQTT, Hass
Sử dụng thiết bị điều khiển hồng ngoại IR fw Tasmota MQTT để nhận và gửi mã IR của các…
Sử dụng LAN Hub zigbee cc2652p làm chức năng Coordinator
– Bạn gắn cáp mạng LAN vào cổng LAN của module, cấp nguồn 5V 1A, sau đó tìm IP của…

